During the pandemic, I had this great idea for my grandmother. My cousins and I would put together pictures every three months, and we would send them to her. After figuring out the best way to do it, I landed on this digital photo frame. We could update the digital picture frame over the internet, images and videos could be pushed from a mobile app. It was a great way to document her grandchildren’s lives.
I then thought that I wanted a Magic Mirror. After three years, I finally gave up the ghost as I was never going to take the time to make it look cosmetically pleasing. But I still wanted an art piece in my living room, so I settled on creating my own digital photo frame.
Chromecast and Home Assistant – Cheap and Powerful Digital Picture Frame
I have several Chromecasts in my apartment, and they are populated with pictures from my Google Photos. These photos were a fun way of looking back at pictures I had taken, but since we didn’t do a lot of traveling during the pandemic, the images quickly got stale. I wanted to incorporate videos and digital art, so I turned to Home Assistant. You can cast both images and videos with Home Assistant to any Chromecast! The only issue is that the pictures have to be available via HTTPS. I pay for Nabu Casa to control my home from anywhere in the world, so this was an easy requirement to meet.

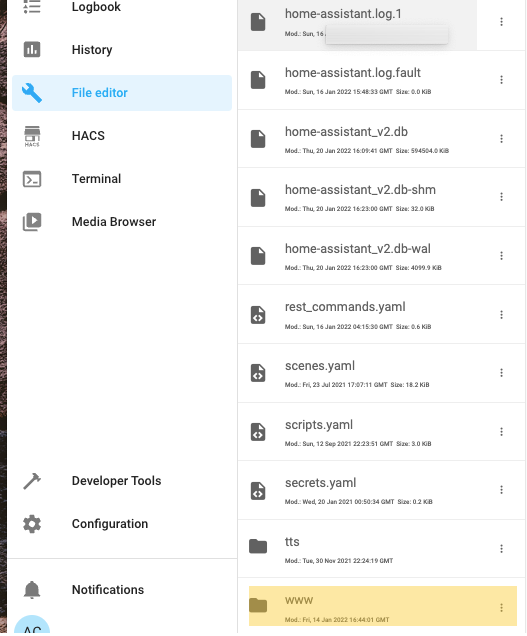
After storing the images and videos in the www folder of my file Editor, I was able to quickly cast the images to my Chromecast with the following service call:
service: media_player.play_media
entity_id: media_player.living_room_tv
data:
  media_content_type: "MOVIE"
  media_content_id: "https://myhomeassistant.ui.nabu.casa/local/reactions/terrifying.mp4"
I use some reaction gifs to respond to voice commands and created a nine-minute timer (to handle timeout issues) to rotate through images.
I also found some great videos here and some cinemagraphs in those slideshows. Now I have a controllable digital picture frame that can play videos and display the digital art I have collected!
I will probably also use Fiverr (affiliate link) to create some custom animated graphics.
PRO Tip: You can use Home Assistant templating to generate a random image/movie to send. You can create a list using the following syntax to select a random image.
The Below code is from my random morning alarm but can be substituted for any place in Home Assistant that you would like some variety.
{{ ["5_edhbiUH3c","jzR4tr7jq5Y","jN6hJXMQkbU","GDaT1IcAokc","VOgupr6Q2v0","XGRiv9itLQ0","JPvkrkNQB7E","jzR4tr7jq5Y","jN6hJXMQkbU","GDaT1IcAokc","VOgupr6Q2v0","XGRiv9itLQ0","JPvkrkNQB7E", "enYdAxVcNZA"] | random }}Dynaframe
Well, it is great until I want to watch TV. I still had most of the pieces I would have used in my Magic Mirror project, i.e., a Raspberry Pi, a monitor, and a monitor mount. I came across the Dynaframe project by Joe Farro. Dynaframe is an open-source project, and it does everything that I wanted, e.g., a stand-alone installation that I could control via the web. The installation is local, so I wouldn’t have to worry about losing a connection to the internet. The instructions are pretty simple, but I would suggest you keep the following things in mind:

1) Use Debian Buster with Desktop instead of the current Raspberry Pi OS as some recent changes to the underlying video player breaks in Raspberry Pi Bullseye. You can track the issue here.

2) If you are going to use videos, you want to make sure that they are the same length as the timer you have on your Slideshow duration. Otherwise, you’ll get a black screen until that timer runs out. I used iMovie to “loop” the videos for the amount of time to match the Slideshow duration.
Dynaframe also has a method to control your new digital photo frame over the web, so you can use the REST component of Home Assistant to control the playlists, advance the images, or turn the frame on and off.
I go over how to use the REST components of Home Assistant in this article.
Some examples of those Dynaframe HTTP commands (more can be found here):
- Screen Off – http://dynaframeinstance:8000/default.htm?COMMAND=SCREENOFF
- Select Playlist – http://dynaframeinstance:8000/default.htm?cbDirectory=%252fhome%252fpi%252fPictures%252fmain
Next Steps
I have a great profile picture that I used the Fast-Style-Transfer library to modify. I used iMovie to create a fantastic video.
Other Ideas for an enhanced Digital Picture Frame
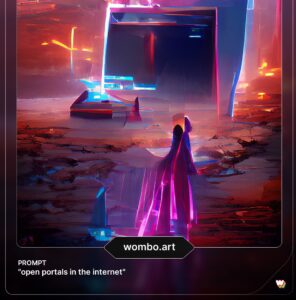
- I want to train new models using the art I generated from Dream by Wombo as a base and augment this video.
- SSH to migrate content directly to my Dynaframe and Home Assistant repositories.
- Create an image of my journal or my upcoming day and start with that every day.


